How to steam milk and pour latte art at home
Want to impress your friends and family with a perfectly poured latte design at the weekend? Check out our top tips for milk steaming and latte art at home.
Latte art is one of the hardest skills to master when making coffee at home and is one of our most commonly asked questions.
In this post we're going to take you through the principles of milk steaming and give some simple step-by-step instructions on pouring a latte art heart.
WHAT EQUIPMENT DO YOU NEED TO POUR LATTE ART?
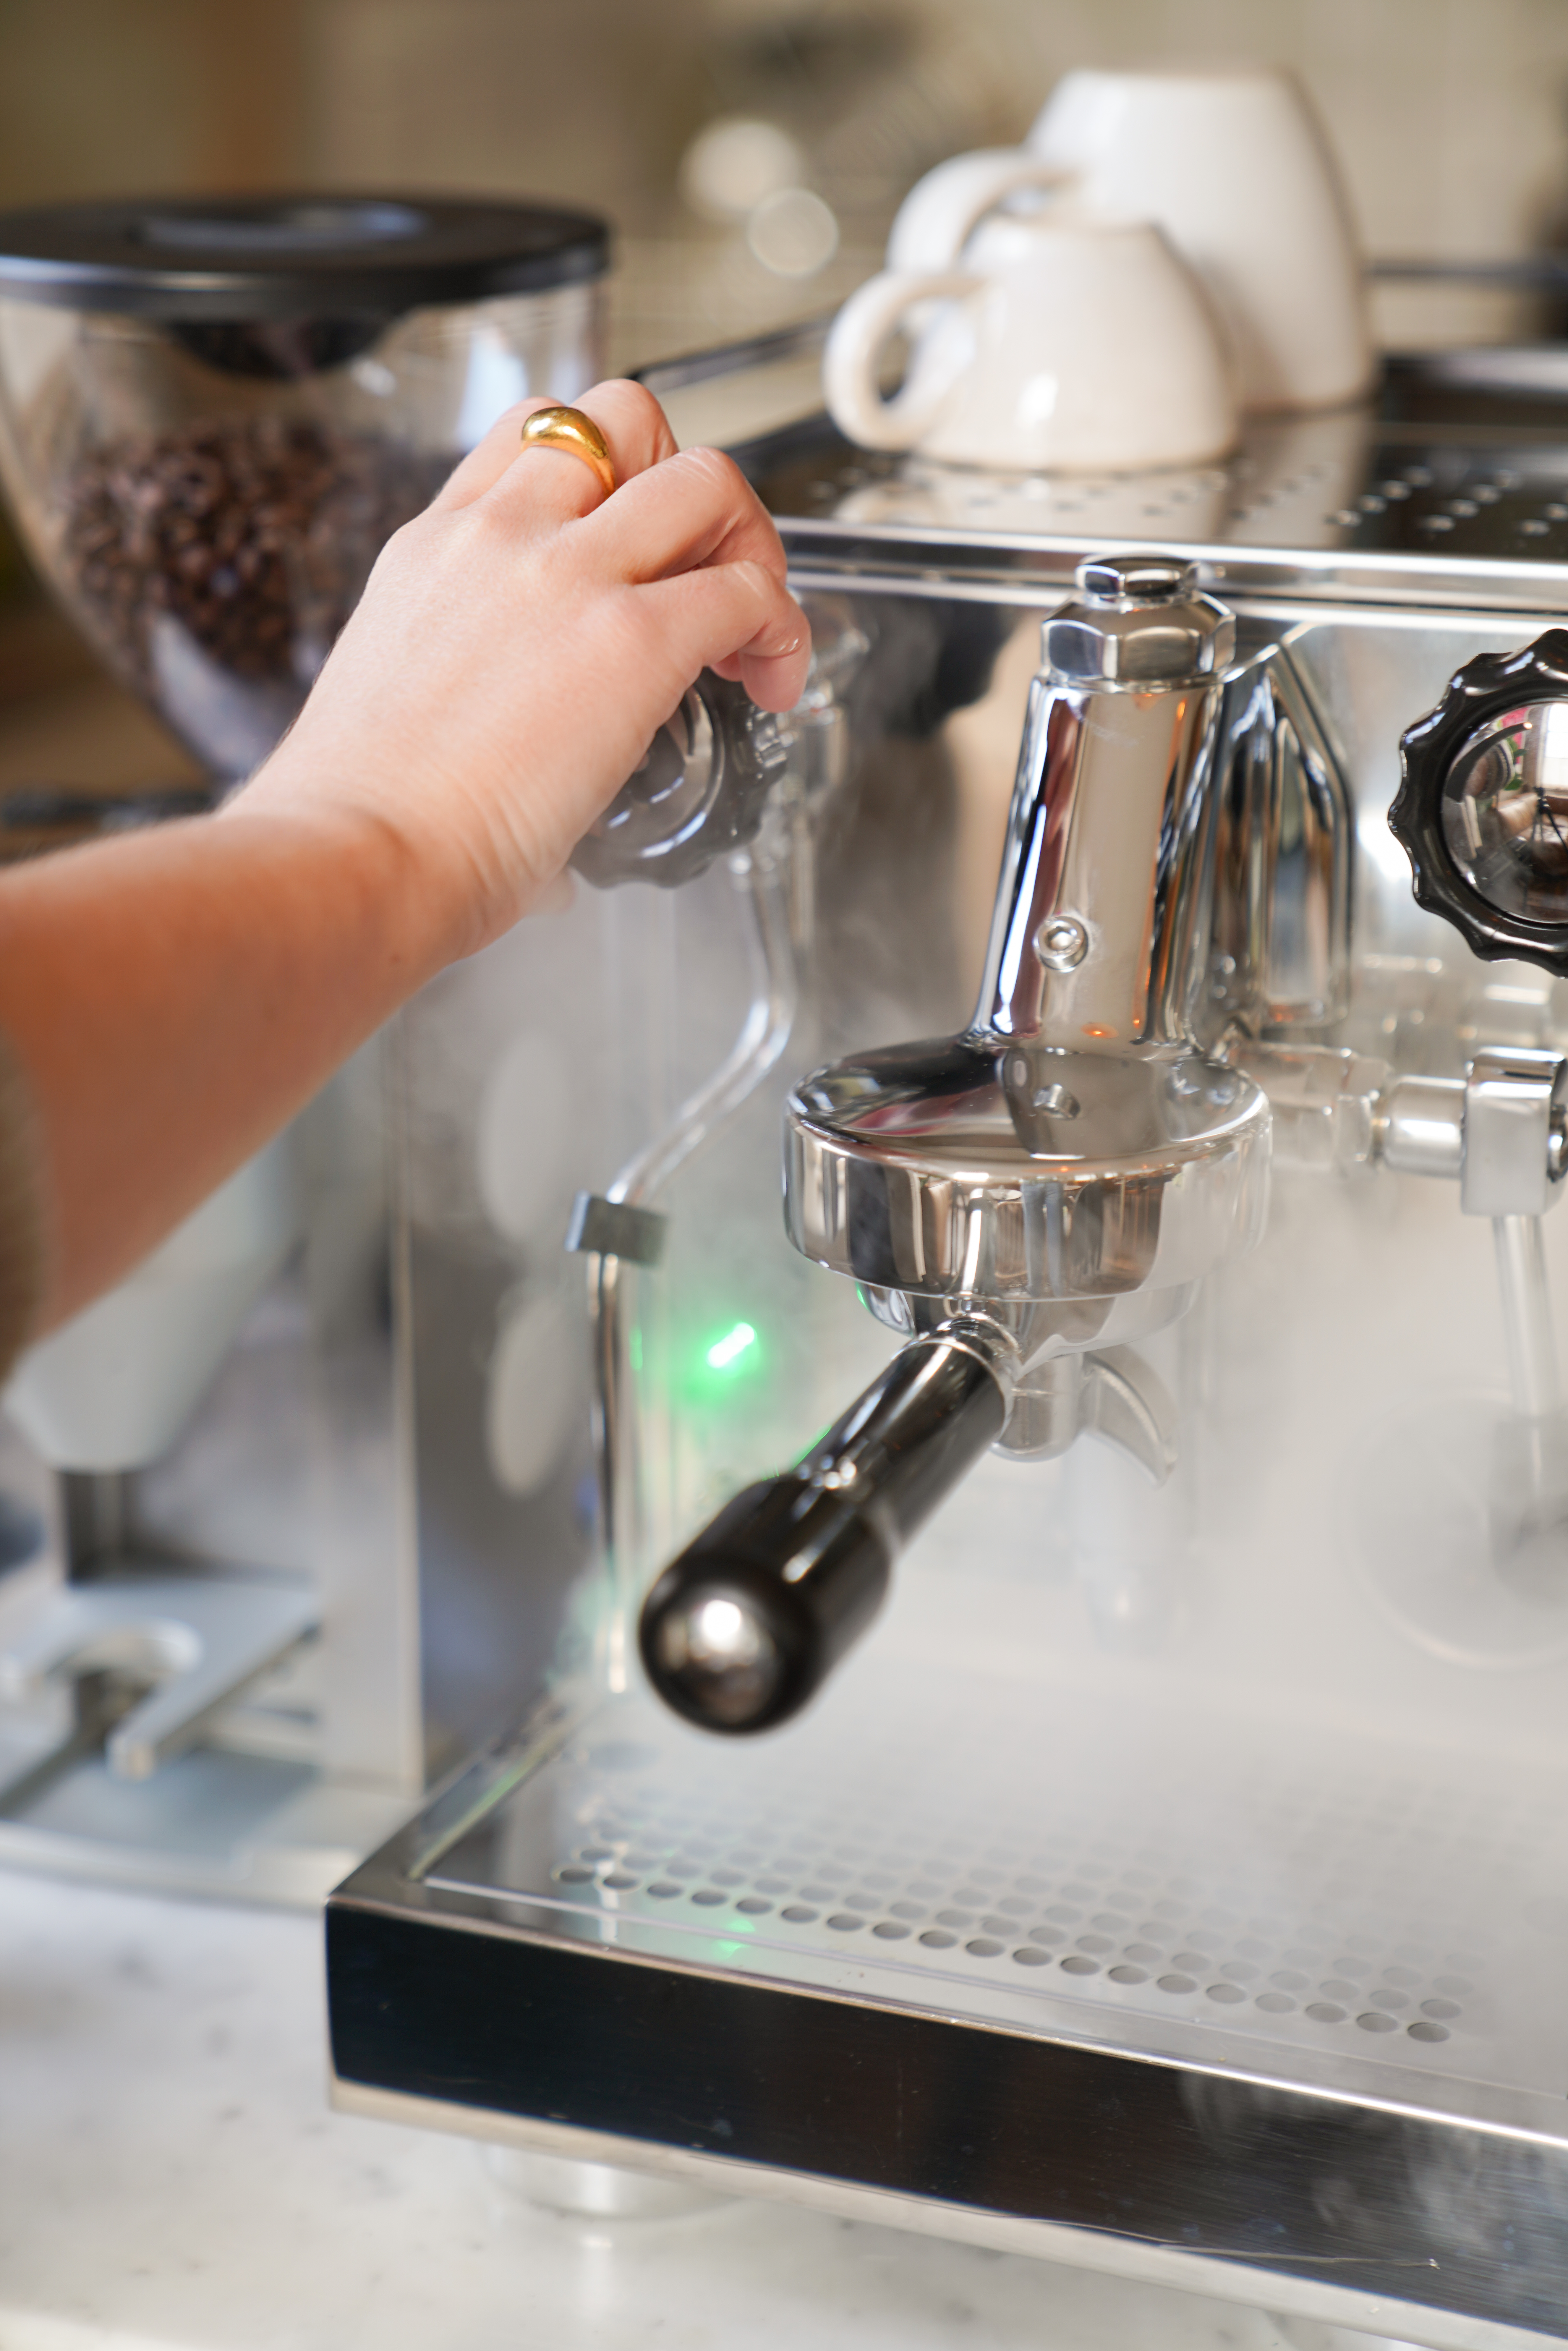
Espresso Machine: An espresso machine with a steam boiler and milk wand. The home machines from Rocket Espresso and La Marzocco have excellent milk-steaming capabilities and we were really impressed with the quality of latte art we were able to pour on these machines.
Read our espresso machine buyers guide for more advice on choosing the right machine.
Milk: Choose a dairy milk with around 4% fat content. If you're using an alternative milk, choose the barista version. Always go for organic if you can.
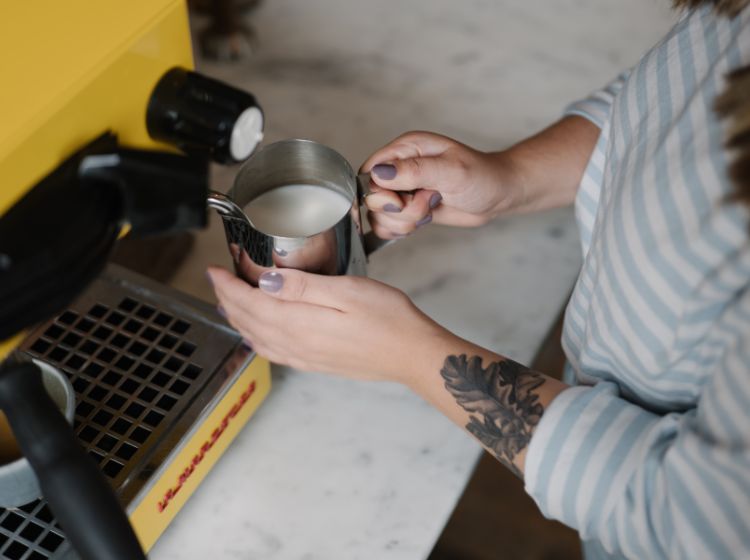
Milk jug: A good quality milk jug makes a huge different to the quality and precision of your pour. We like this milk jug from Rocket Espresso.
Microfibre cloth: You need a clean cloth which you use for your milk wand and nothing else. This is an absolute must for cleanliness and hygiene.
Milk thermometer: A milk thermometer will help familiarise you with how hot the milk should be and will avoid over heating or burning the milk during steaming.
Cups: Some cups are easier to pour into that others. The quality of your latte art will be far better in a shallower coffee cup than in a larger mug and the coffee to milk ratio of the drinks you're making will be better too.
When training baristas in the roastery we use the egg cups from Loveramics.
HOW TO STEAM THE PERFECT MILK FOR LATTE ART
Before you start to pour, you need to make sure the texture of your milk is just right. You're aiming for milk which is silky and glossy.
Here's how to steam the perfect texture milk for latte art:
PURGE. WIPE
Add fresh, cold milk to a clean jug.
Purge the steam wand by turning the handle and releasing some steam for 1-2 seconds.
Wipe the steam wand using a microfibre cloth used only for this purpose. Now you're ready to steam your milk.
STEAM, LOWER, STRETCH
Hold your jug at a slight angle, tilted towards the steam wand.
Submerge the tip of the steam wand into the milk, following the angle of the jug and spout, then turn the steam handle to open the valve and turn on the steam.
Lower the jug so just the tip of the steam wand is in the milk, this adds air into your milk and is called stretching.
Stretch for 1-2 seconds for a latte, 3-4 seconds for a cappuccino. Resist the temptation to add too much air at this stage!

LIFT THE JUG & HEAT THE MILK
Now that you have air and bubbles in your milk, you must heat it.
Lift your jug so the steam wand is submerged about halfway down the jug and heat the milk to 55-65°C. If you don’t have a milk jug thermometer, steam until the jug is too hot to touch o the outside.
Turn off the steam by turning the handle to close the steam valve.
WIPE THAT WAND!
Wipe the wand with your microfibre cloth and briefly turn the steam on again (purge) to remove any remaining milk from the wand.
Purging your steam wand before and after steaming milk is a must for cleanliness and for excellent-tasting milk.

HOW TO POUR A LATTE ART HEART
A heart is the easiest place to start when it comes to pouring latte art. Here’s a step-by-step to walk you through it.
BANG & SWIRL
Bang the jug on your workbench to pop any big bubbles in the milk.
Swirl the milk around in the jug until glossy and shiny.
START HIGH
Keep the jug high above the cup and pour slowly into the centre of the espresso with your cup at a 45-degree angle towards the jug.
Height is important at this stage. You want the milk to pierce the crema as you pour it into the cup.

LOWER THE JUG
When your cup is about 1/3 full, you want the milk to sit on top of the drink and form your latte art.
Lower your jug, bringing it closer to the espresso, the spout of the jug should be touching the side of the cup.
Allow a circle of white foam to form in the crema.
STRAIGHTEN AND CUT THROUGH
You should have a white circle of milk forming in your cup.
To turn this into a heart, straighten the cup as it fills, following this motion with the jug.
Lift the jug then cut through the circle shape you have poured to create your latte art heart.

TOP TIPS TO STEAM MILK LIKE A PRO
Choose a good milk jug: Pick the correct jug for the cup size. We like using the Rocket Espresso milk jug for latte art.
Choose good quality milk: If you're using dairy, we recommend whole milk or semi-skimmed, organic if you can.
Your milk needs enough fat for the proteins in the milk to stretch and turn silky during steaming. Whole milk is best for latte art. In the roastery, the milk we use has around 4% fat content.
Semi-skimmed milk (around 2% fat content) is harder to steam and pour but a good choice if you're choosing lighter roast single-origin espressos which may be overpowered by the creaminess of whole milk.
If you're using plant-based milk, make sure you're using a barista version which can stretch during foaming without splitting. We like Oatly Barista and Minor Figures.
Whichever milk you use, make sure it's cold when it goes in the jug.
Knock: Knock out any big bubbles before you swirl.
Practice: Practice makes perfect. We like using Barista Carl’s Blend as a way to reduce milk wastage and practice our pour.
Swirl: Swirl the milk around in the jug until glossy and shiny, then pour.
Keep it clean: You must keep the steam wand clean. Purge before and after every steam. Wipe using a clean microfibre cloth which is only used for your steam wand.
STEAMING MILK FOR DIFFERENT DRINKS
Different drinks have different proportions of milk and require the milk to be steamed slightly differently.
To learn the different coffee to milk ratios for some of your coffee shop drinks, check out our brew guide on making barista style drinks at home.
Flat whites, lattes, cortados, piccolo, mocha
The milk is steamed to a silky texture with very little foam. This takes just 1-2 seconds. Be careful not to add too much air into your drink by having the tip of the steam wand at the top of the milk for too long.
Cappuccino, macchiato
These drinks should be slightly more foamy. Steam for 3-4 seconds to add more air to the initial steam. A common mistake is adding too much air at the stage. Try not to overdo it. The bubbles should be small, and you should still be able to pour latte art.
ALL THAT READING LEFT YOU THIRSTY?
Well done coffee lover. You. made it to the end of the brew guide. If all that reading has left you craving a coffee, check out some of our latest espressos over on the shop.
