

Aeropress coffee brewing guide
Coffee brewing method: espresso or filter coffee
Skill level: Easy
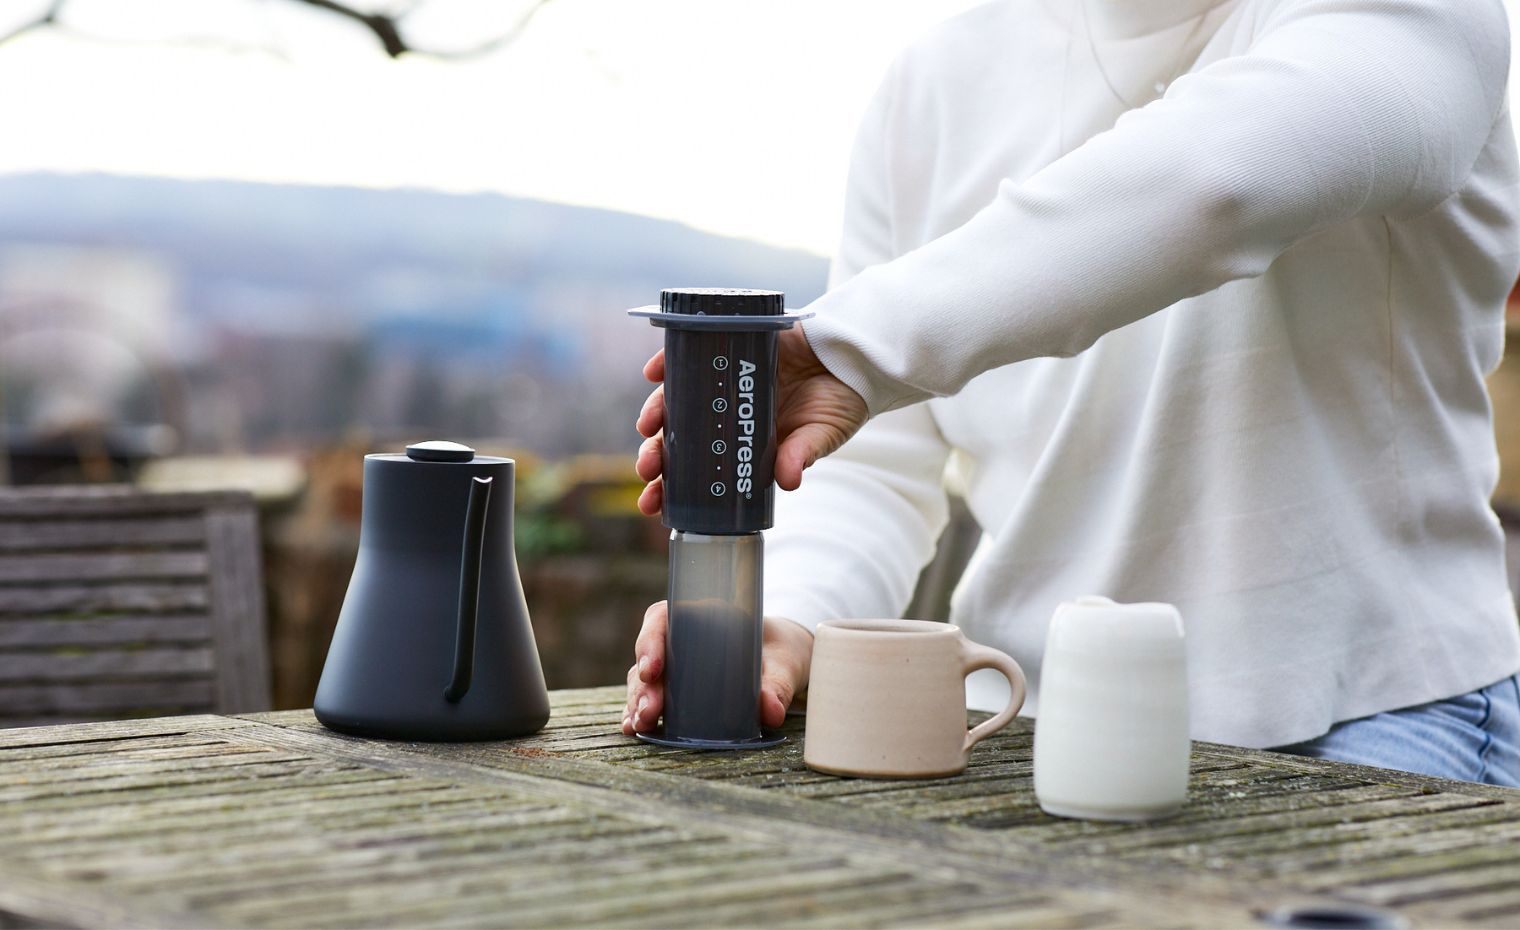
The Aeropress is a simple and popular coffee brewing method. It's a lightweight and robust plastic coffee maker powered by hand and is a fantastic travelling companion.
In this brew guide we look at two of the most popular brewing methods using Aeropress and Aeropress Go coffee makers and answer some of our most frequently asked Aeropress questions.
It's a long one, so brew up a coffee and let's get stuck in...
What is an Aeropress Coffee Maker?
The Aeropress was initially intended to brew espresso style coffee on the go, but coffee lovers have since found several different ways to use it.
There are even Aeropress World Championships where coffee enthusiasts find new and inventive ways to brew using the Aeropress!
Its lightweight and super portable which makes it popular with cyclists and adventure seekers and anyone looking to brew great-tasting coffee at the office or away from home.
How do I brew coffee using an Aeropress?
In this brew guide, we're going to talk you through the two main methods of brewing an Aeropress.
The classic method gives you a stronger, espresso-style coffee.
The inverted method which gives a longer drink - more similar to a cafetiere or filter brew.
Both methods are quick, easy and delicious.
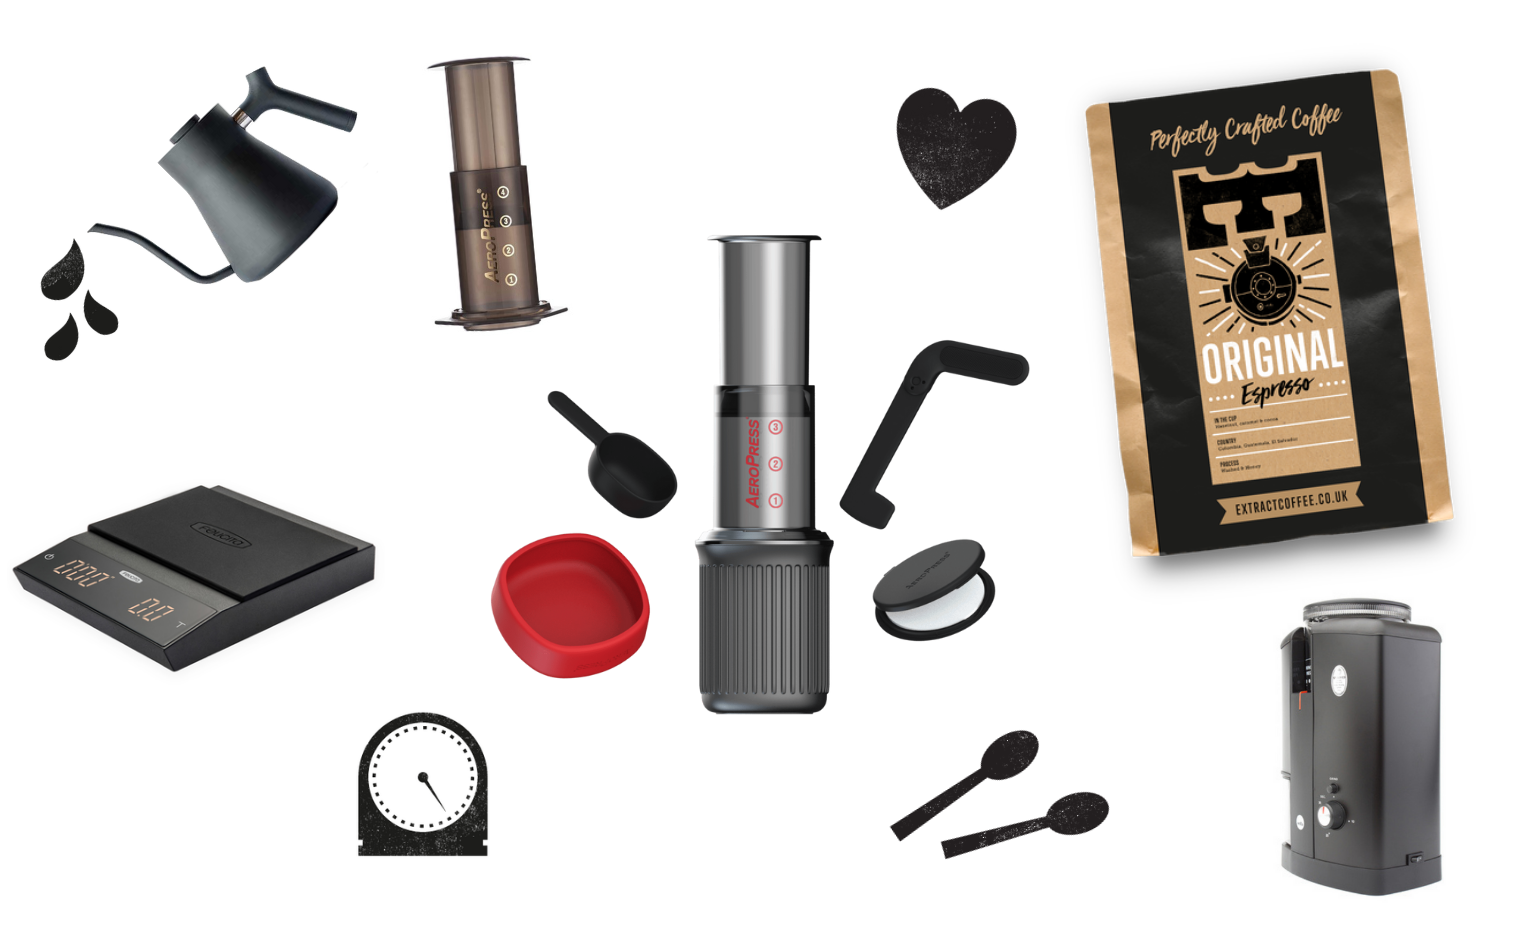
Kit list:
- Aeropress. Either the Original Aeropress Coffee Maker or the new Aeropress Go! Coffee Maker
- Aeropress filter (paper filters or a steel filter).
- Timer (we use our smartphone or a watch).
- A jug to brew into, or a sturdy cup.
- Your favourite Extract ground coffee.
- 200ml 94C water.
- A coffee grinder (if you're using whole beans).
- Coffee scales (or use the scoop which comes with the Aeropress).
How to brew coffee using the Aeropress classic method
The classic Aeropress brew method is best for a stronger, espresso-style brew. It works especially well with medium to dark roast coffees which you might drink with milk or alt milks.
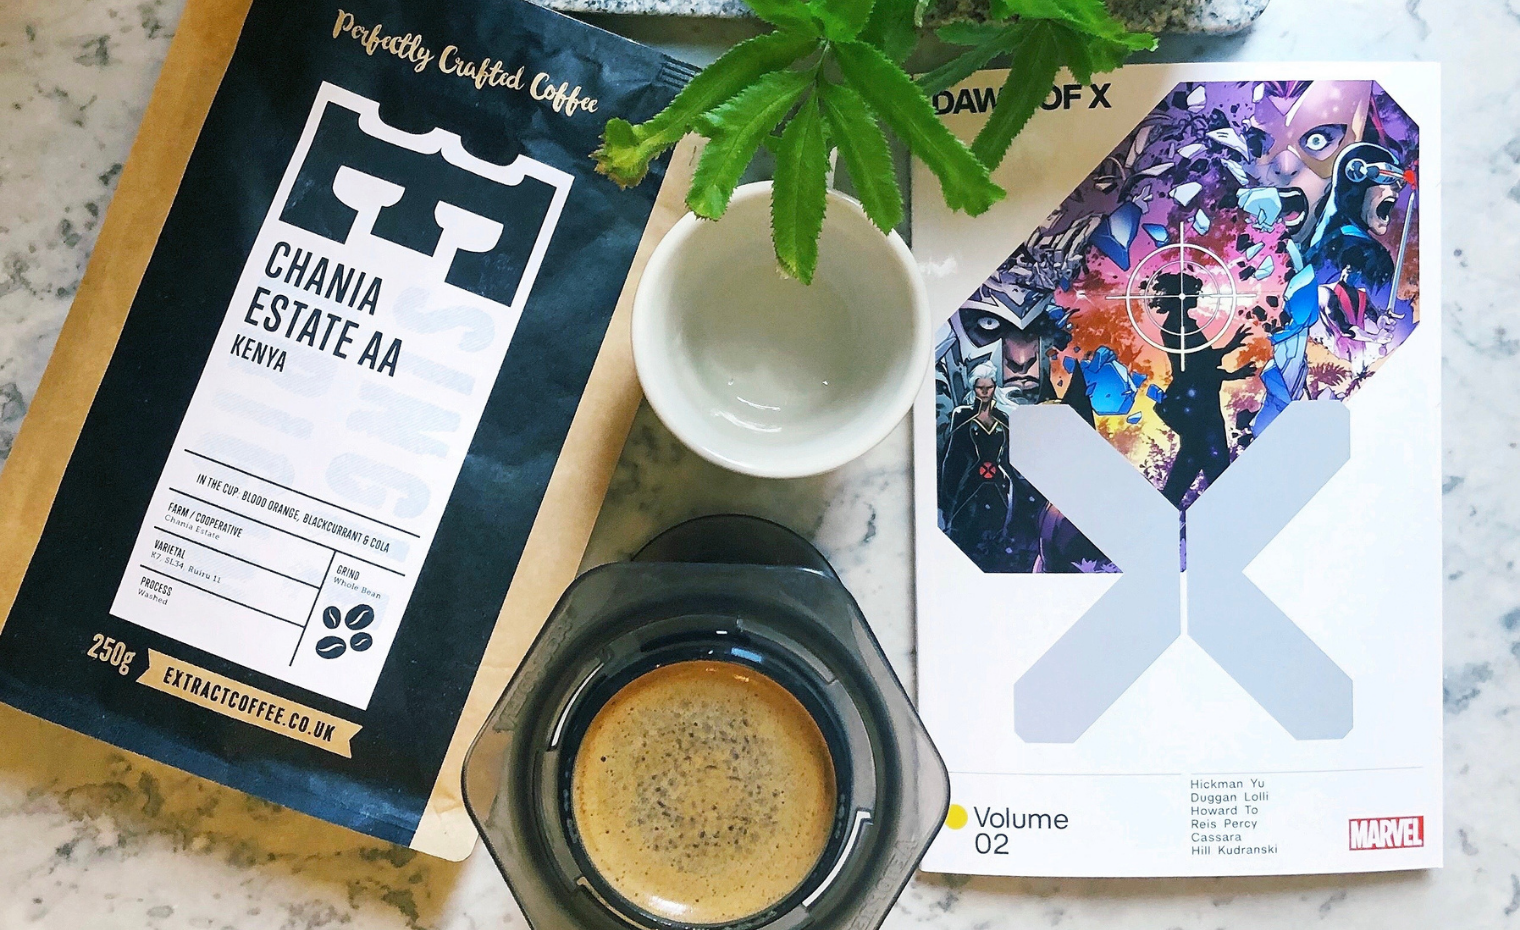
Right now, we really like brewing with Dr Strangelove Espresso from our hero range or El Indio Espresso and Mbili Twiga Espresso from our latest season of single origins.
1. Weigh and grind your coffee
Weigh 18g coffee & grind finely. We like using the Wilfa Svart coffee grinder at home. If you're following the classic method Aeropress brew guide, you want to choose the finest grind size.
If you're buying pre-ground coffee you're looking for an espresso grind.
2. Rinse your Aeropress filter paper
Put your Aeropress filter paper in the cap, quickly wet the paper and screw onto the chamber. Rinsing the filter paper before you brew gets rid of any papery taste. If you're using a reusable metal filter, you don't need to do this.
3. Coffee mugs and Aeropress at the ready
Put your coffee into the Aeropress chamber and place on top of a mug.
Home Barista tip.1 - don't choose a really delicate mug or glass for this. You'll be adding pressure in the plunge step and so your cup needs to be strong enough to withstand you pushing down on it)
4. Weigh and pour
Place your mug and the Aeropress filled with coffee onto some scales and set them to zero. We use the Felicita Inline coffee scales in the roastery which give an awesome level of precision (we weight to the nearest 0.1g).
If you're brewing at home, you're probably using kitchen scales which will measure to the nearest gram - which is totally fine for Aeropress.
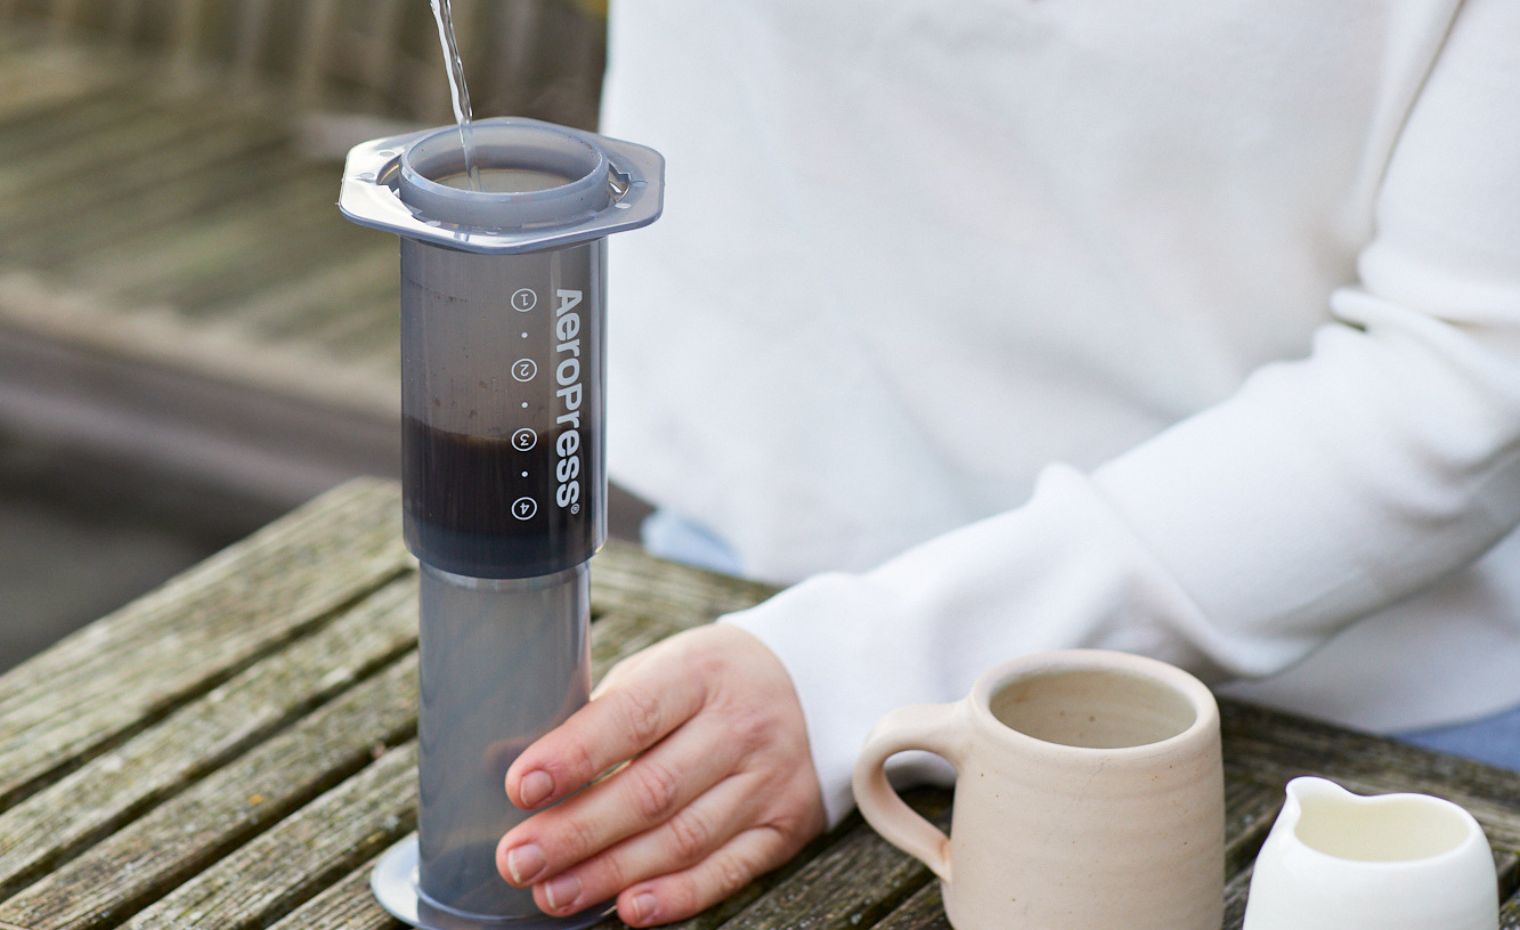
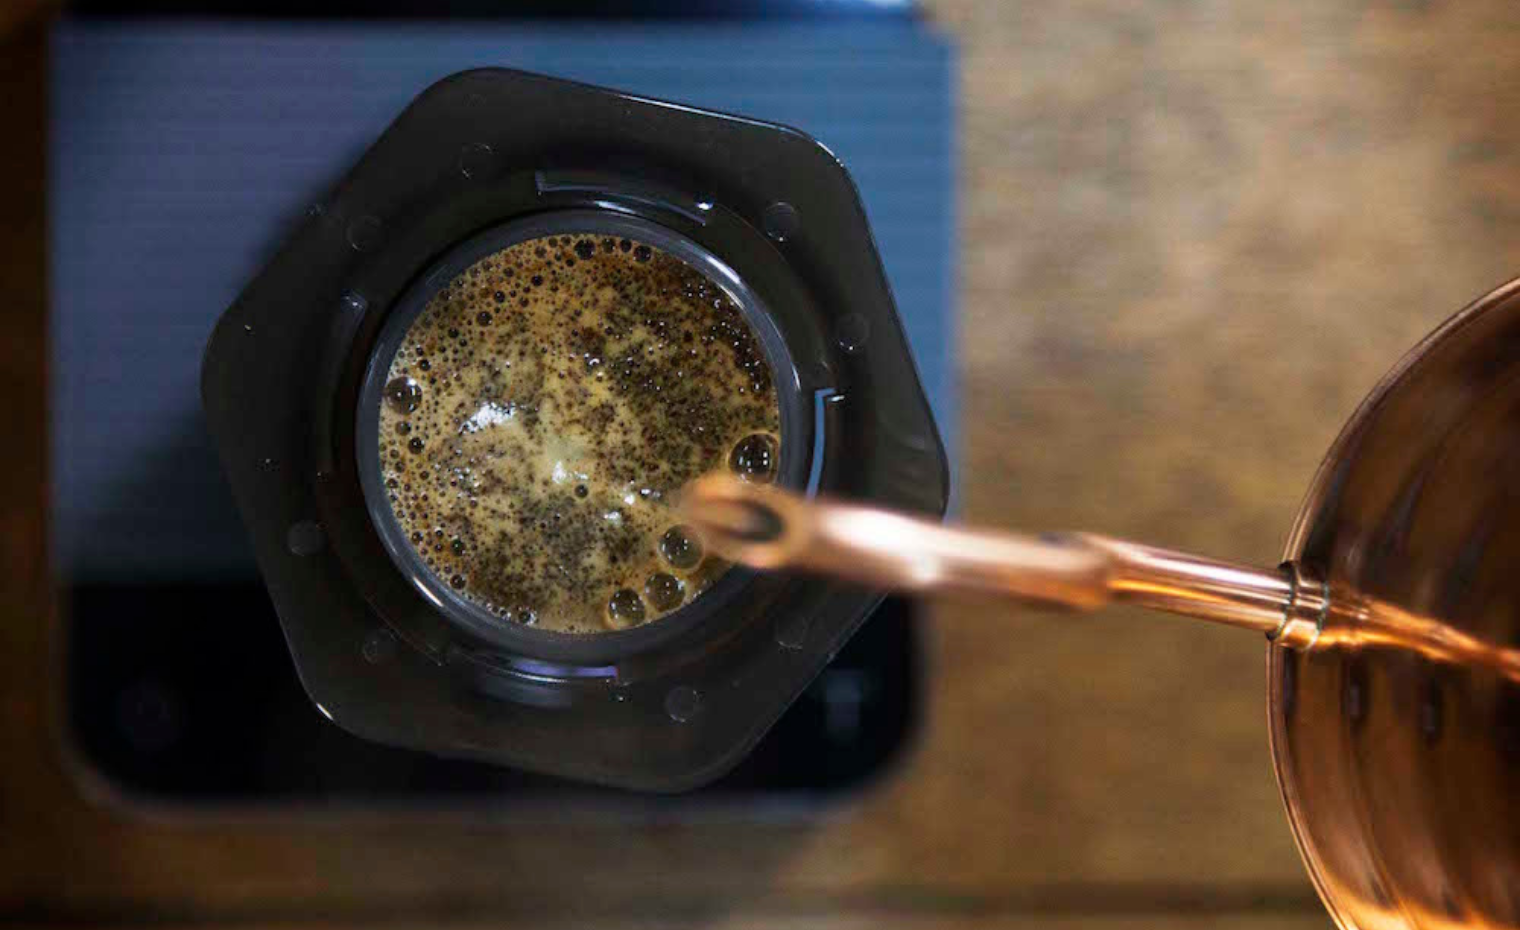
Pour 55-65ml of hot, filtered water to fill the Aeropress chamber, making sure you wet the coffee as thoroughly as possible. We recommend hot but not boiling water. 94 degrees C is perfect (or a boiled kettle left for a minute). We use a coffee kettle like the Fellow Stagg kettle to make our pour super precise.
Home Barista tip 2. - If your kitchen is particularly cold, you might want to rinse your Aeropress with hot water before you pour to heat it up and use freshly boiled water. Read more in our brew guide on brewing coffee in colder weather.
5. Wait for your coffee to brew
Add the plunger to the top of the chamber but do NOT push down. Leave to brew for 45 seconds.
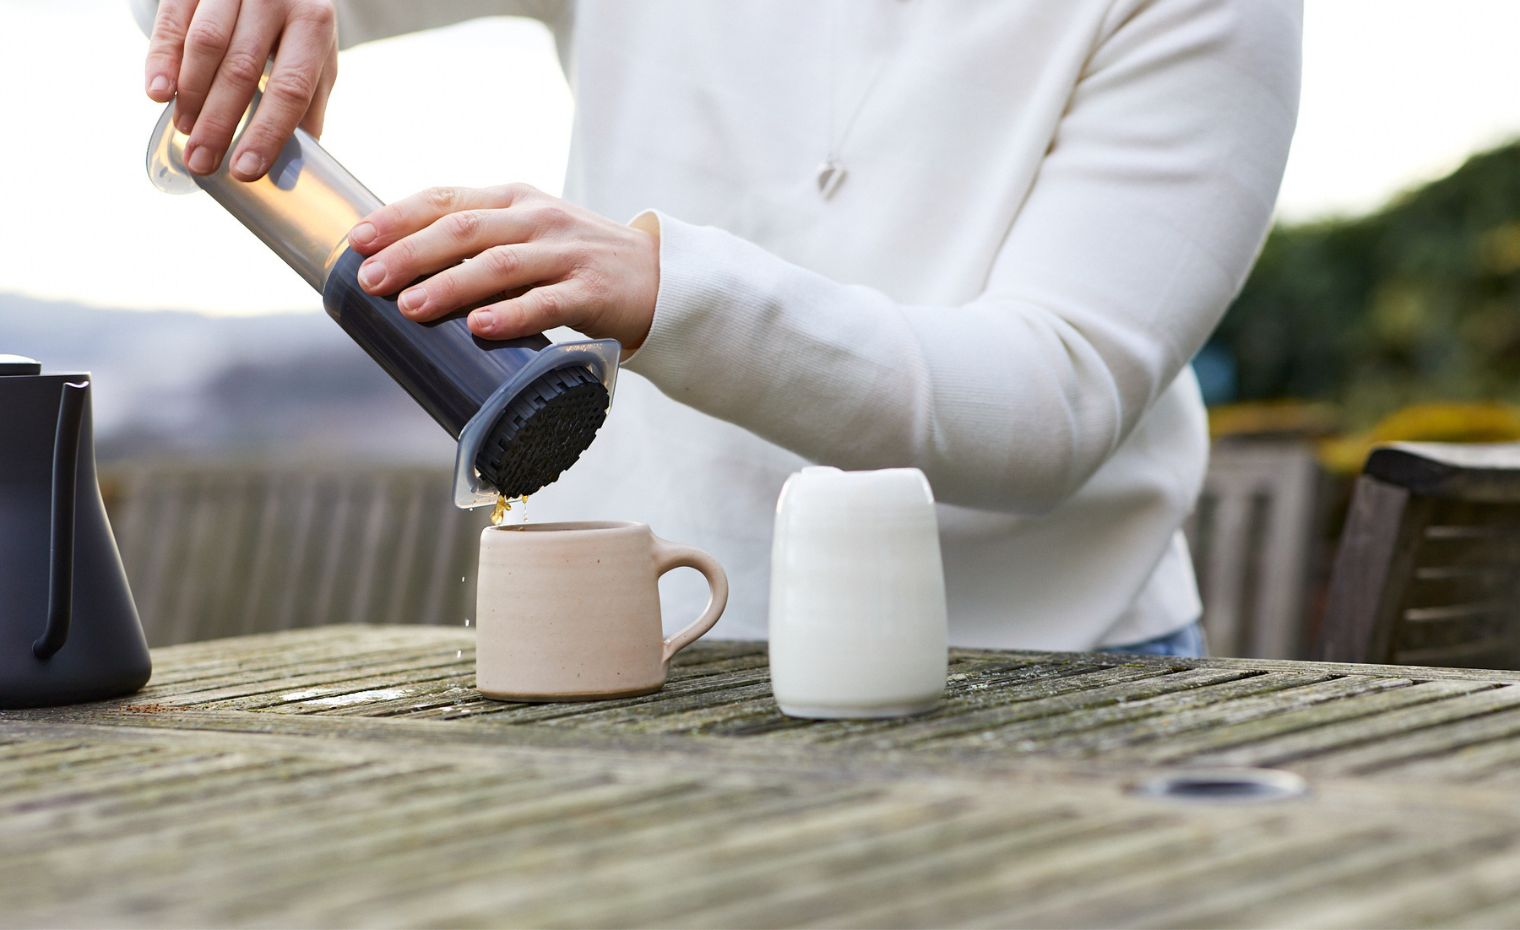
6. Plunge your Aeropress
Press down on your Aeropress plunger. The plunge should take approximately 30 seconds - you'll feel the air bubble doing the hard work here. Stop when you can hear air escaping.
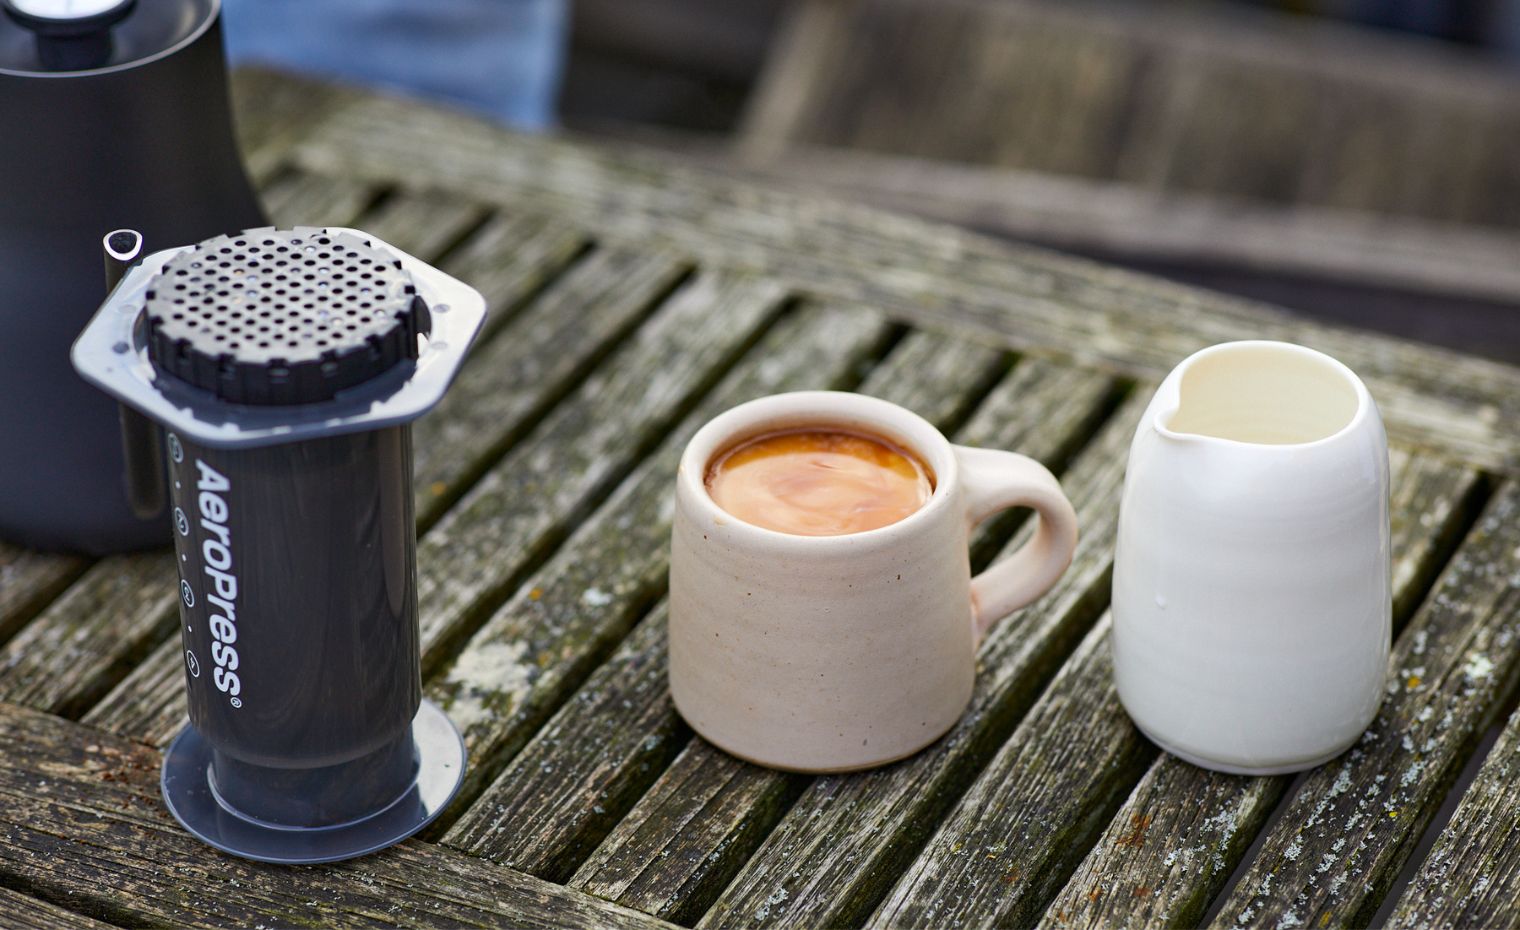
Now pick you your mug and enjoy.
How to brew coffee using the Aeropress inverted method
The inverted method has become increasingly popular with Aeropress fans looking for a longer coffee but still with plenty of body and sweetness (more similar to a cafetiere). This is our preferred way to make coffee with an Aeropress.
It works well for black coffees and lighter filter roast coffees. Some of our favourite coffees to enjoy right now are fruity filters like Kathangariri Filter from Kenya, and El Oso from Peru.
1. Weigh and grind your coffee
Weighing water and coffee is key to getting your brew tasting consistently good.
The Aeropress fits a cosy 240ml of liquid, for this brew recipe we're using 200ml of water and 12-14g of medium-fine ground coffee.
Grind using a portable hand grinder like the Hario Skerton Coffee Mill or a home coffee grinder like the Wilfa Svart Coffee Grinder. The Wilfa comes with an Aeropress setting which is perfect for the inverted Aeropress method.
If you're looking for coffee scales, we rate the Felicita Inline Coffee Scales. However kitchen scales will work just fine for an Aeropress brew.
2. Set up your Aeropress
Construct your Aeropress by pushing the black plunger on the bottom, and the chamber side on top. The black plunger should be pushed up to the start of the Number 4 marker on the side of the chamber.
Once your kettle is boiled, fill your Aeropress chamber up to the top. Boiling water is too hot to pour straight into your coffee, so this step gives the water time to cool to a better brewing temperature (92-94 degrees celsius).
If you're using paper filters, pop a filter into the gauze or cap and give it a quick rinse. This stops the taste of the filter from ending up in your coffee.
Use any remaining water in your kettle to fill up your mug so that it's nice and warm when you pour your coffee into it.
3. Stir, brew, repeat
Pour 12-14g of ground coffee into the hot water in the Aeropress chamber. Give it a few stirs using the Aeropress stirrer and start your timer for 45 seconds.
After 45 seconds, give it another stir and wait another 45 seconds.
Stirring the coffee twice creates turbulence or agitation and means the coffee grounds will extract faster, meaning you get more flavour.
When coffee is over-extracted, it tastes bitter; under-extracted it tastes sour. The secret to a great tasting brew is getting the extraction of flavour from the coffee grounds just right. We've got some more tips on troubleshooting your coffee at home in our golden rules brew guide here.
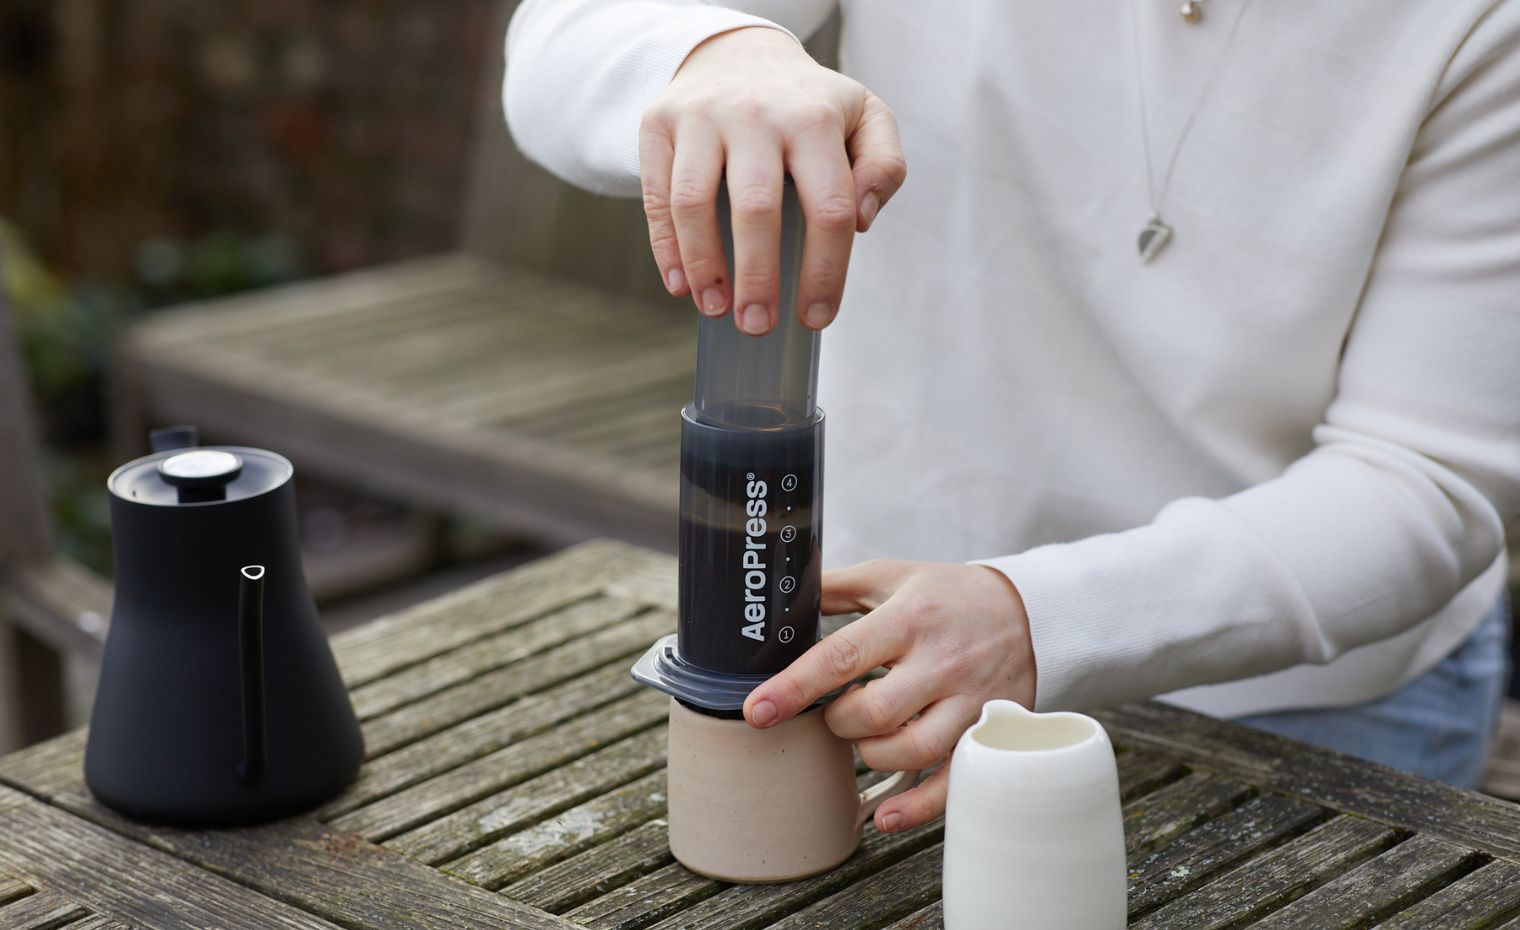
4. Plunge your Aeropress
Empty the hot water from your mug.
After 1 minute 30 seconds total brew time, pop the cap on with filter inside and flip the Aeropress on to the top of your mug.
Slowly plunge for 30 secs.
Then, all that's left to do is kick back and enjoy your brew.
What are the best coffees to brew with Aeropress?
The brew methods we've talked about in this post are suitable for a longer drinks, and for a shorter, strong coffee. They work well for black coffees and for those with milk or alternative milks.
If you take your coffee black and like a longer drink, we recommend brewing with a filter roast coffee. Something fruity like Kathangariri Filter from Kenya, or El Oso from Peru works really well.
If you like your coffee strong, or with milk, we recommend an espresso roast coffee. We really like brewing with Dr Strangelove Espresso from our hero range or El Indio Espresso and Mbili Twiga Espresso from our latest season of single origins.
If you enjoy trying new coffees, check out our Roaster's Choice Filter, or Roaster's Choice Espresso and we'll send you a new coffee to try each month.
Frequently asked questions about Aeropress
What grind size do I need to brew Aeropress coffee?
How finely or coarsely you grind your coffee for Aeropress depends on the Aeropress method you're using. For the classic method, we recommend a fine grind - similar to espresso. For the inverted method we recommend a medium to fine grind. Ideally you're looking for something between a filter and espresso grind.
In this post we've mentioned the Hario Skerton hand grinder which is portable and great for the inverted method.
We've also recommended the Wilfa Svart Coffee Grinder which is an electric grinder for home. We suggest using the Wilfa's finest setting for the classic method and the Aeropress setting for the inverted method.
If you don't have a grinder at home we recommend ordering filter ground coffee and letting it steep a little longer. If you're steeping for 2 minutes using the inverted method then 4+ minutes will make a good amount of difference to flavour
Should I use paper or metal Aeropress filters?
When using an Aeropress you can choose paper filters, or a reusable steel filter. The reusable filter has the environmental benefits of less waste - that's a clear win for the planet.
The metal filter allows more oils to pass through and you're more likely to get the fine grinds at the bottom of your cup (like you do with a cafetiere).
We like to use paper Aeropress filters because they produce a cleaner-tasting cup of coffee where the oils and fine grinds are filtered out. The papers are biodegradable too so you can pop them in your food waste once you're done.
Ultimately, it's your coffee. Your call.
Where can I buy an Aeropress?
We sell the Original Aeropress Coffee Maker and the Aeropress Go! Coffee Maker in the Extract shop, as well as a regular supply of Aeropress filter papers.You can take a look at our coffee brew equipment in our online shop, here. Our stock does fluctuate, so if we don't currently have one available, please check back later.
ALL THAT READING LEFT YOU THIRSTY?
Well done for making it to the end. It's a long one, but we hope you've found our Aeropress brew guide useful.
If you'd like to browse our latest coffees online, check out our webshop using the button below, if you'd like more coffee tips, browse through more of our Extract Coffee Roasters brew guides.
Until next time coffee lovers.